Entry Procedures
Visa and entry requirements depend on the country that issued your passport. The information here is general guidance. Always confirm the requirements for your own nationality with the official source.
This information is for general guidance only. Please verify with the embassy or official government sources before traveling.
Visa Requirements
Types of visas required and their conditions
Nationals of many countries can enter the Philippines visa-free for tourism, but the allowed stay varies by nationality (commonly around 30 days, sometimes 14 or longer). Rules and lists change, so confirm your own nationality's current conditions with an official source before you travel. A passport valid for at least six months and an onward/return ticket are usually required.
- Visa-free
- Many nationalities
- Stay
- Varies (often ~30 days)
- Confirm
- Before you travel
- Check your nationality's current rules with an official source
Passport Conditions
Required validity period and blank pages
Your passport should generally be valid for at least six months beyond your intended stay, with blank pages for stamps. Immigration officers may ask to see proof of onward or return travel and sufficient funds. Keep your passport safe and carry a copy separately in case of loss.
- Validity
- 6 months+
- Onward ticket
- May be checked
- Copy
- Keep separate
- Immigration may ask for proof of funds and onward travel
Required Documents & Pre-registration
Arrival cards, health declarations, and other preparations
The Philippines uses an online travel declaration ("eTravel") that arriving passengers are generally expected to complete shortly before arrival; it is free. Have your passport, onward/return ticket, accommodation details and the declaration confirmation ready. As requirements can change, confirm the current process on the official eTravel and immigration sites before departure.
- eTravel
- Online, free
- Prepare
- Ticket, hotel info
- Confirm
- Official sites
- Complete the eTravel declaration shortly before arrival
Pre-arrival procedure — eTravel: free, mandatory online registration for all arriving passengers; it replaced the paper arrival card and includes the health declaration. Register within 72 hours before arrival on the official site etravel.gov.ph or the eGovPH app; you get a QR code shown at check-in, boarding and immigration. Beware paid look-alike sites.
Official eTravel (etravel.gov.ph)- Family name
- SMITH
- First / given name
- MICHAEL
- Nationality
- Your nationality (e.g. UNITED STATES)
- Passport No.
- A1234567
- Date of birth
- 1990-05-20
- Flight No.
- PR127
- Date of arrival
- 2026-04-10
- Address in the Philippines
- Hotel name & address (e.g. in Manila)
How to register
- 1 Open the official site etravel.gov.ph (or the eGovPH app) and start a new registration.
- 2 Enter passport and personal information.
- 3 Enter travel details and your address in the Philippines.
- 4 Complete the health declaration checklist.
- 5 Review all entries, submit and save the QR code; show it at check-in and on arrival.
Registration is free and requirements can change; confirm the current rules on the official site before you travel.
Last updated: 2026-08-30
Cash Import Limits
Declaration-free limits and procedures for excess amounts
Foreign currency of USD 10,000 or more (or equivalent) must be declared on arrival and departure. Carrying Philippine pesos in or out is limited to a set amount (around PHP 50,000) without prior authorisation from the central bank (BSP). Declare amounts over the thresholds and confirm current limits before you travel.
- Foreign cash
- Declare USD 10,000+
- Pesos
- Limited without BSP OK
- Confirm
- Current limits
- Peso limit is around PHP 50,000 without prior BSP authorisation
Duty-Free Allowances & Restricted Items
Limits on tobacco, alcohol, food, and other goods
Travellers have duty-free allowances for a limited quantity of alcohol and tobacco and personal effects. Goods above the allowance, or items for commercial use, may be taxed. Declare anything you are unsure about on the customs/eTravel form. Confirm the current allowances on the Bureau of Customs website before you travel.
- Allowance
- Limited alcohol/tobacco
- Over limit
- May be taxed
- Declare
- If unsure
- Check current duty-free allowances with the Bureau of Customs
Prohibited Items
Items that are strictly forbidden from import
Illegal drugs, firearms and ammunition, and counterfeit goods are strictly prohibited and carry heavy penalties. Restrictions also apply to some plants, seeds, fresh food and animal products for biosecurity reasons. Never carry items for other people, and declare anything regulated. Check the prohibited/restricted list before you pack.
- Banned
- Drugs, weapons
- Restricted
- Some food/plants
- Never
- Carry for others
- Drug offences carry severe penalties — never carry for others
Medication Import Rules
Rules for bringing prescription and over-the-counter drugs
Bring prescription medicines in their original packaging with a doctor's letter or prescription, and carry only quantities for personal use. Some drugs that are common elsewhere may be controlled or restricted in the Philippines. For controlled substances, check the rules with the FDA/Bureau of Customs before you travel.
- Original box
- Plus prescription
- Amount
- Personal use only
- Check
- Controlled drugs
- Check controlled-substance rules with the FDA before travel
Vaccinations & Health Requirements
Required and recommended vaccines for entry
No vaccines are usually required to enter, but a yellow fever certificate may be requested if you arrive from a country with risk. Travel-health services commonly suggest being up to date on routine shots and considering hepatitis A and typhoid. See a travel clinic 4–6 weeks before departure for personalised advice.
- Required
- Usually none
- Yellow fever
- If from risk area
- Consider
- Hep A, typhoid
- See a travel clinic 4–6 weeks before departure
Immigration Process
Step-by-step guide from arrival to clearing immigration
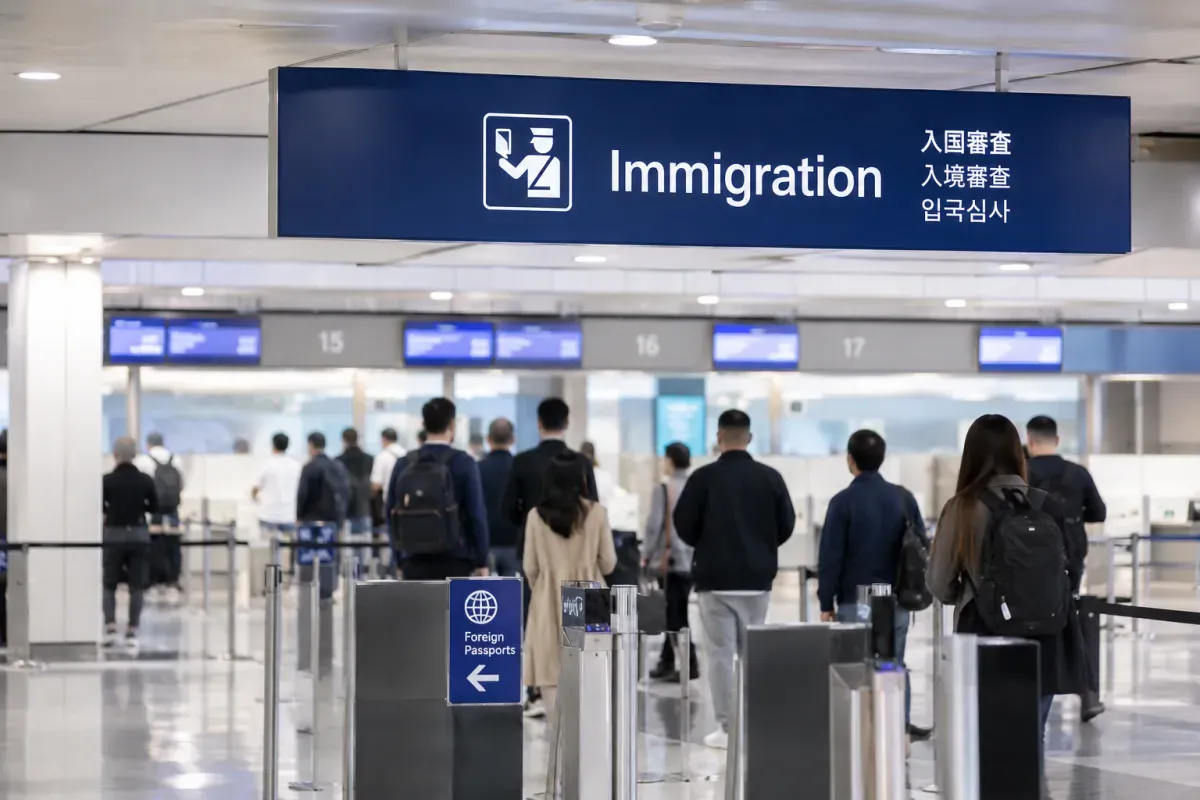
On arrival, have your passport and eTravel confirmation ready; officers may ask your purpose, length of stay and where you will stay. Queues at Manila (NAIA) can be long, so allow time. If you want to stay beyond your visa-free period, a visa waiver extension can usually be arranged through the Bureau of Immigration — check the current process.
- Have ready
- Passport + eTravel
- NAIA
- Queues can be long
- Extension
- Via Immigration
- Visa-free stays can often be extended via the Bureau of Immigration
Tips for Smooth Entry
Practical advice for a hassle-free arrival
Fill in the eTravel declaration before you fly and screenshot the confirmation. Terminal transfers in Manila can take time — leave a buffer. English is widely spoken, which makes things easy. Carry small peso notes for taxis and jeepneys, and keep some cash for islands where cards are rarely accepted.
- eTravel
- Do it before flying
- Manila
- Allow transfer time
- Cash
- Small notes for islands
- Screenshot your eTravel confirmation before departure